These settings are used for Outlook Express.
For information on Outlook click HERE.
For information on Thunderbird click HERE.
For information on Vista's Windows Mail click HERE.
For information on Macintosh Mail click HERE
If you are setting up your own domain on our hosting server simply replace the webkraft-hs.net
domain with your own. Everything else is the same.
If you are setting up a webkrafwireless.net account replace webkraftwireless.net for the webkraft-hs.net domain name
whenever it appears. Everything else is the same.
Start by clicking on the Tools menu option at the top of the Outlook Express window.
Click on Accounts.
Click on the Mail tab on top.
Click the Add button to the right to add a new account.
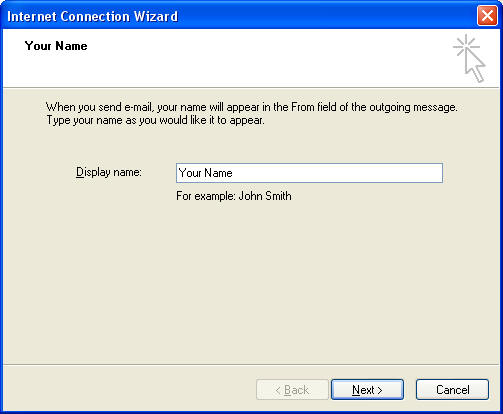
Enter your name as you want it to appear when someone gets mail from you.
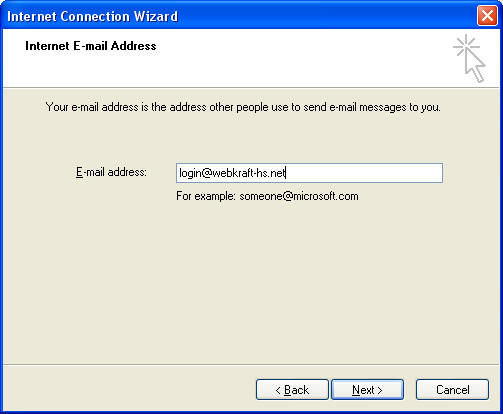
Enter your e-mail address using your login name and be sure to add the webkraft-hs.net part as well.
Click Next
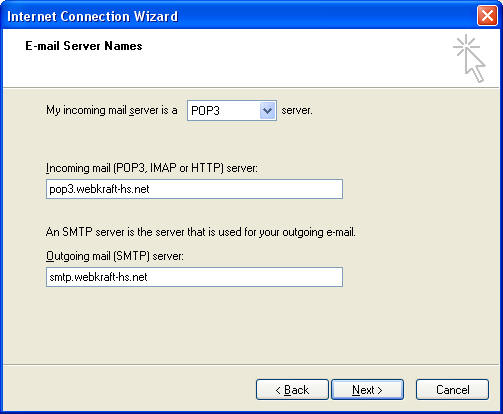
Enter the POP3 and SMTP server names and click Next
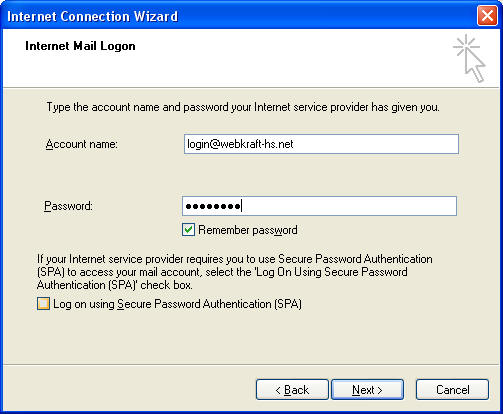
Enter your e-mail address and password in lower case letters.
Click Next
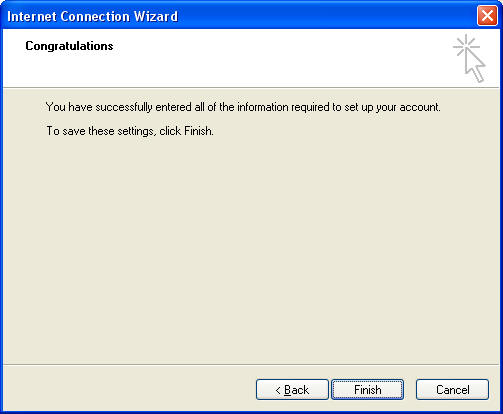
That's it for this part.
Click Finish
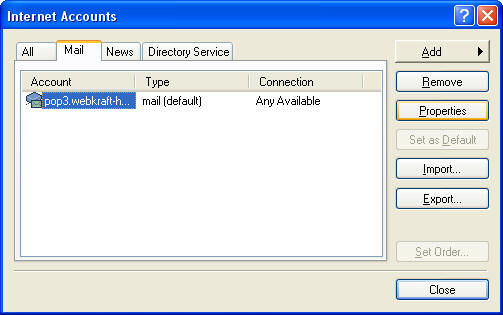
Go back to the Tools, Accounts, Mail tab again.
Click on the mail account once to highlight it.
Click on the Properties button to the right.
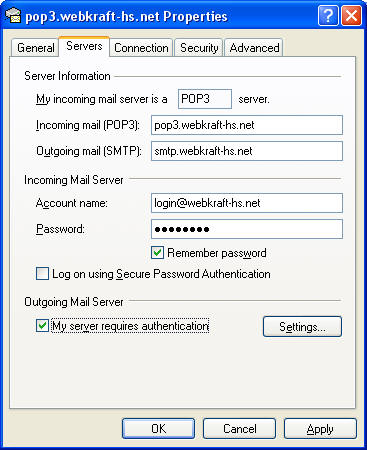
Click on the Servers tab up top.
Put a check in the box at the bottom for My server requires authentication.
Click on the Settings button to the right.
Select Use same settings as my incoming mail server
Click OK

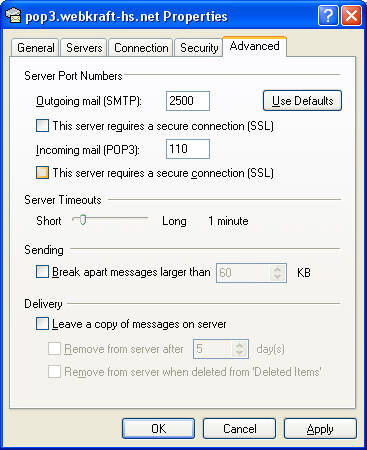
Click on the Advanced button up top.
Here we have a choice to make. If we want to send mail normally without any security in place use the settings below and click Apply and OK.
That's it. Your mail should be working. Don't forget that we have a webmail interface that works without setting anything up and can be accessed from any computer on the web.
Click here to log into your WebKraft-HS WebMail.
Click here to log into your WebKraft.net WebMail.
If you want to create a separate mail folder for each mail account your program checks go to our Message Rules page!